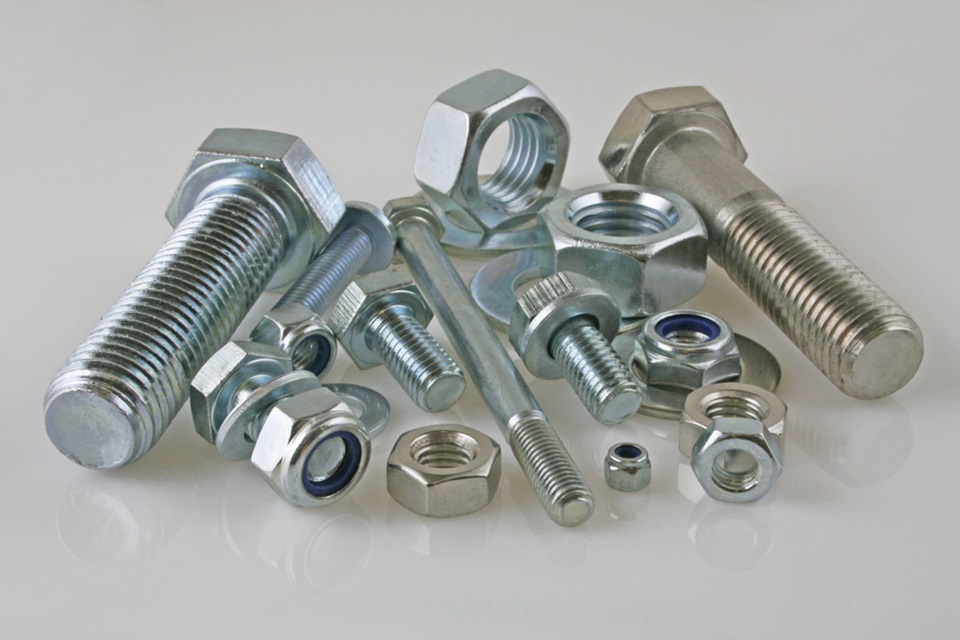
Manufacturing finely threaded fittings demands ultra-careful craftsmanship. Yet the quest for measurement-perfect helical ridges brews frustrations even for seasoned machinists.
Let’s discuss real-world problems plaguing precision threading work – then counter with proven solutions restoring standards.
Acquiring mastery in threading work means understanding crucial do’s and don’ts, separating the exceptional from the sore.
Table of Contents
Inspecting Essential Tools
Assuring flawless cutters comes first because worn, chipped, or improper tools doom projects before even starting:
Taps: Hardened taps with precisely ground flute edges avoid skewed threads. Various shank styles, tapers, and materials suit assorted projects. Pipe taps threading deep holes require rear chip evacuation. Don’t improvise with salvaged bolts.
Dies: Full 3-piece adjustable sets cleanly shear material when locked at exact sizes. Ensure prolonged blade sharpness honing with stone lapping whenever cutting becomes more crushing than slicing. Replace elderly round dies that are deforming work.
Cutting lubrication: Neglecting lubrication invites overheating and friction tears—splash general-purpose sulfur-free oil along cut channels. Deeper holes use insertable stem dispensers that feed down gravity continually. Water-soluble liquids aid after-cleanup.
Feed finesse: Develop a smooth turning tempo and axial pressure dynamics attuned to the material. Erratic speed or forcing dulls dies rapidly. Control pace through the cut. Let sharpness slice without choppiness by finding optimal RPM sweet spots specific to diameters. “Slow and steady” remains the mantra.
Setup stability: Wobbling workpieces amplify vibration problems. Clamp parts securely in a sturdy vise or machine-holding jaw with near-zero play, minimizing lateral deflections when cutting forces engage materials. Lock the assembly to prevent slipping or sudden shifts, throwing off precision. Utilize parallels/shims for maximum flush rigidity between fixed rests and the workpiece.
Gearing up: Gear ratios optimize output torque and speed, which are essential for certain projects. Understand the limitations of basic handheld tap wrenches before attempting large-scale applications better suited for powerful geared heads providing substantial mechanical advantage tailored to the task diametrical requirements and desired finish. Tap capacity charts provide decision assistance in evaluating project demands.
Squaring up stock: Initially, mounting askew rods amplifies issues, later finishing improperly aligned threads way off spec through the winding path. Stock centering techniques like a vee-block paired with a dial test indicator provide reliable references identifying what askew stock looks like before committing it to an uncorrectable canted axis, permanently damaging an otherwise functional workpiece.
Dodging Common Mistakes
Recognizing pitfalls helps tread carefully:
Rushing alignment: Cross-threading nightmares start with impatience and misaligning components. Slow is pro, as said earlier. Guide tap chamfers gradually. Continually realign stock midway, preventing drift from compounding exponentially.
Bottoming out: Axial forces bottoming the cutting tool invite tool lodging or breakage in confined spaces. Avoid driving taps beyond drilled depths. On through-holes, leave 3-4 threads only partially formed. Similarly, dies must free-run off the bar end to evacuate debris. Blind holes employ special short chamfer taps.
Wrong sequence: Improper geometric pitch selection based on stock diameter makes ratios awry. Verify precise thread counts desired before initiating cuts. Remember, removing material remains impossible – only starting over.
Dirty environments: Keep work zones pristinely clear of stray chips, which particles disastrously jam into newly formed crevices and slots. Carefully eliminating contamination ensures perfectly interlocking connections down the assembly line between male and female threaded components like pipe fittings or engine valves.
Balancing cooling: Undercooling lets work metal overheat and oxidize while excessive wetting washes away thickness, altering base dimensional designs. Optimize specific fluid amounts, points of application, and replenishment rates tailored to heat dissipation dynamics of particular operations. Experimentation dials this in.
Standardization savvy: Learn proper designation language, measurement tables, and hardware sizing conventions to expertly specify projects for accurately translating dimensional requirements by suppliers providing material stock or fabrication services. Misinterpretation risks equipment interface disasters.
Inspection interval discipline: Rectifying slight early deviations prevents problems compounding to scrap proportions at finish stages. Routinely monitor thread quality by gauges/templates every few passes during lengthy production runs. Confirm tool sharpness, chip flow, lubrication, temperatures, and precision early/often.
Conclusion
Threading work undoubtedly qualifies as precision labor, intensified by unforgiving tolerances measured in thousandths of an inch.
Capitalizing on fundamental operational understandings separates those overwhelmed by procedures from machinists excelling through every helical hurdle by respecting capacity limitations, understanding tool geometry implications, and always double-checking precision benchmarks every step while actively eliminating deviations the instant they surface.
Ultimately, thread craftsmanship skills continue building positively through patience, refusing to rush any phase of this humbling trade.


