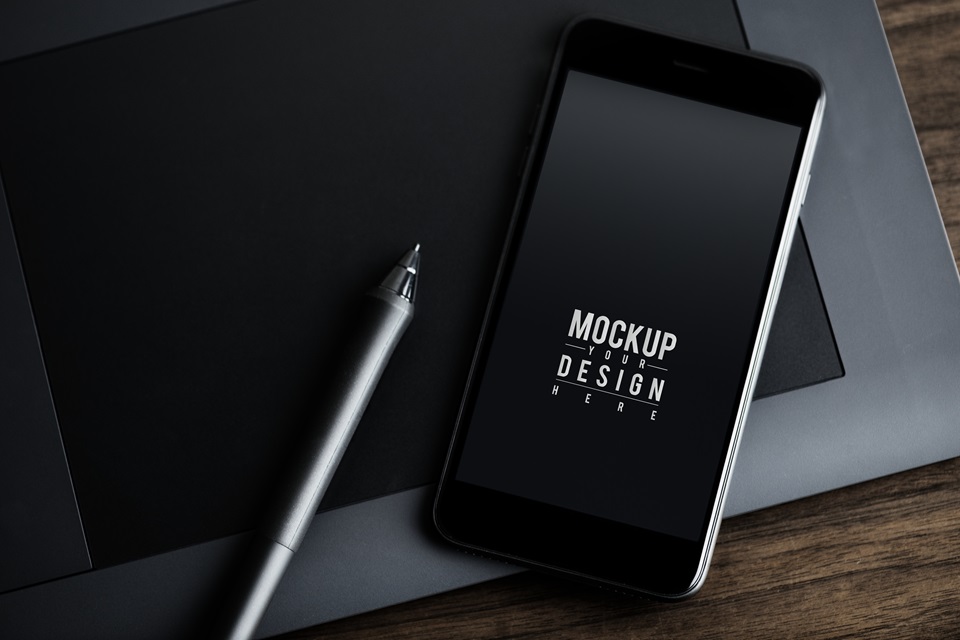
Creating eye-catching product images can be challenging, but with the right design tools, it doesn’t have to be. PSD mockups are a great way to quickly and easily create professional-looking product images that stand out.
This post will explore tips to help you create stunning product images with PSD mockups. From selecting the correct design elements to adding the finishing touches, you’ll create fantastic product images in no time. But first, let’s talk about why mockups are essential to designing product images.
Table of Contents
Why PSD Mockups Are Essential For Product Images
When it comes to creating compelling product images, mockups play a crucial role. Here’s why they are essential:
- Realism: PSD mockups provide 3D models of your product, allowing clients to see it in real time and understand the size, shape, and design components before purchasing.
- Expertise: You can produce professional-looking product photos that increase the perceived worth of your business by using high-quality mockups. It shows the effort you have put into creating the best possible product.
- Cost-effectiveness: Purchasing a mockup template is considerably cheaper than hiring a professional photographer or paying for expensive photography equipment. With mockups, you save both time and money while getting excellent results.
- Flexibility: With many creative templates, you can select the layout, backdrop, and lighting that best suits your product. You can use this customization to make photos that complement the identity and aesthetic of your brand.
- Time-saving: Starting from scratch with product photos can be labor and time-intensive. PSD mockups save you time so you can focus on other areas of your business. You can quickly and easily set your product design into the template.
Tips To Create Amazing Product Images With PSD Mockup
A product’s best presentation can be achieved by selecting the mockup template that best fits its 3D design elements and textures. Remember to look over all of your possibilities before deciding on one. With many alternatives, getting the right mockup is as simple as a click away. So feel free to purchase the template that will enable you to launch your product. Here are tips that’ll help:
Start With A Suitable Template
The first step in producing amazing product photos is choosing the ideal mockup template. Whether you’re exhibiting clothing, food packaging, or other products, these templates give you the ideal platform to showcase your items in a realistic setting, giving your pictures a more polished and natural appearance. There’s a truckload of eye-catching mockup templates on Yellow Images, you can choose to buy one from there.
Add Your Product Design
It’s time to integrate your product design into the mockup you selected as the ideal template. Just use the mockup’s assigned design area to add your product design. Ensure that it is correctly aligned and, if need be, change the size. This is your chance to make your concept a reality and make your product stand out. Use your creativity and try out several ideas to determine which fits best.
Easy Customization
You can customize your mockup template to meet your brand’s specific needs. You can easily include your color schemes, branding components, and logo. Customizing also allows your product image to remain consistent, which will help people recognize and remember your brand.
Use Realistic Backgrounds
Consider adding realistic backgrounds if you want your product photos to stand out even more. Using 3D mockups, you can build an immersive environment that makes your product come to life. Select a backdrop that enhances the products and creates an eye-catching scenery. A realistic background enhances the depth and intrigue of your photos, whether it’s a modern studio backdrop or a beautiful outdoor setting.
Use Natural Lights & Shadows
Achieving realistic lighting and shadows can significantly improve the quality of product photos. Add depth and dimension by carefully positioning light sources and including shades. Try out several lighting configurations to find the ideal one that accentuates the unique qualities of your product. You can take your product photos from average to outstanding by mastering lighting and shadows.
Text & Graphics
Use striking colors and typefaces to highlight the characteristics and benefits of your product. Use callouts or bullet points to highlight specific details. Another excellent tool for communicating information with graphics is by using an infographic. Remember to keep it visually appealing and avoid giving the reader too much text. Strategic text and graphic additions help you communicate to prospective buyers the benefits of your offering.
Resize & Export Your Final Product
Make sure to resize and export your finished product image in a format that is appropriate for its intended use. Consider the website, social media, or print media that you want to use to display your image. Use the proper image editing software to resize your image to the correct size and save it in the appropriate file format. If necessary, enhance the image for the web to guarantee quick loading times. Lastly, double-check the finished product to ensure it is clean and polished before sharing.
Conclusion
Using PSD mockups will revolutionize the way you create product images. They save you time and money in addition to offering professionalism. Produce eye-catching pictures that capture your audience’s attention by selecting the ideal template, creating your image with realistic backgrounds, and integrating your product design with careful consideration for lighting and shadows.
Remember to use well-placed text and visuals to draw attention to the qualities and advantages of your product. Ensure your finished image is optimized for its intended usage when resizing and exporting it. Create appealing product photos that stand out using these PSD mockup tips. With Yellow Images, explore the universe of design possibilities and achieve new levels of excellence for your product images. Create amazing product images right now!


