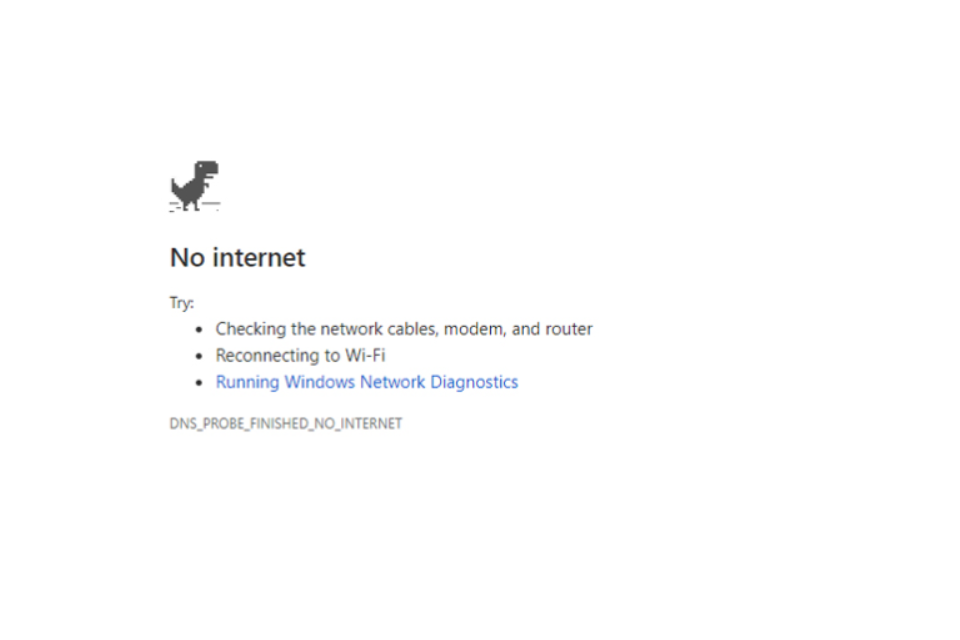
DNS stands for Domain Name System Service, which translates the IP address to the Hostname and the Hostname to the IP address. Normally, computers understand only in their language, which is in numbers (IP address), and when we search or type any hostname, the website browser resolves the IP address of that particular website using Domain Name System (DNS). If DNS fails to translate a host to IP or vice-versa, then this will result in there being no Internet Connection — DNS probe finished, no Internet.
There are various reasons that can lead to this type of failure. Viruses can cause various issues, Including Malware Infections, DNS services that fail to respond or stop working, or problems with the Wi-Fi router itself.
We are here to provide you with the most effective solution to fix the DNS probe finished no internet on Windows 10.
Table of Contents
1. Restart Your System
Try working out the basic solution first. Sometimes, problems can be caused by minor errors, such as an internet connection issue or a faulty router. Make sure that your internet connection is okay. Then check your router, modem, and then restart your computer. You can also scan your computer to check the problem.
You can go through a full system scan to find the real issue. You can also run the system optimiser, which is free of cost, to clean the junk files, cache, cookies, etc.
After completing the full scan, restart your computer and then open Google Chrome to check if it’s working properly.
2. Perform A Clean Boot On Your System
A third-party application can also cause this problem. Performing a Clean Boot in your system will help you identify the issue causing DNS Probe Finished No Internet on your system.
How To Perform A Clean Boot On Windows 10?
Follow these steps to perform a Clean Boot on your system.
Step 1: To start the process, press the Windows key along with the X key. Then select Run in the options.
Step 2: Type MSConfig in the run box and then click the Enter button.
Step 3: Now, tap to select the Hide all Microsoft services check box option on the Services tab of the Configuration dialog box. Then click to Disable all.
Step 4: Click on the Open Task Manager on the Startup tab of the System Configuration dialog box.
Step 5: After doing so, on the Startup tab in Task Manager. Just select the item and disable it.
Step 6: Done doing the following steps. Now you can close the Task Manager.
Step 7: Now you can restart your computer after clicking Ok on the Startup tab of the System Configuration dialog box.
3. Check Proxy Settings
Check the proxy settings on your computer using the method given below.
Step 1: Click on the start menu and search for the Internet option in the search bar, and press the Enter key.
Next, go to the Connection tab and click on LAN Settings.
Step 3: Now, select the box “ Use a proxy server of your LAN “ and make sure that the “ Automatically detect settings “ box is selected too.
Step 4: Click OK and Apply. Now, check if the problem is fixed or not.
Also, check that the DNS client service is running or reset it just like earlier.
4. Check the DNS Client Service Is Running Properly
Press Windows key + R key to check and restart the DNS client service to deal with, DNS Probe Finished No Internet and now, type service.msc and ok to open the Windows Services and then search for DNS Client. If the service is already running, then right-click on it to refresh and start the service again. If the service was not running earlier then just double click on it.
Now, change the startup to Automatic and then start the service. Now the DNS client will restart.
5. Fix By Using Command Prompt
This is the proven method and widely used by many users who have faced the DNS Probe Finished No Internet issue and can be fixed by Command Prompt. Here is how you can it.
Step 1: Press the Windows key + R key together to put the system on Run mode.
Step 2: To begin the command Prompt, enter DNS cmd, and click OK.
Step 3: Now, run the following command step by step:
Note: To make the process easier, you can just copy and paste them.
- ipconfig /release
- ipconfig /all
- ipconfig /flushdns
- ipconfig /renew
- netsh int IP set DNS
- netsh Winsock reset
Step 4: Just reboot your computer after using the Command Prompt.
6. Configure TCP/IP4 Settings
Here, you can try to configure the TCP/IP4 settings. Just follow the given steps below.
Step 1: Just start by clicking on the Start button and select Settings.
Step 2: Now click on Network and Internet, then go to the Network Connections.
Step 3: Go to the Wi-Fi section, right-click on your active network connection, and click on properties.
Step 4: Now click on Internet Protocol Version 4 (TCP/IPv4) and open its properties.
Step 5: Now enter the preferred DNS server along with Alternate DNS server addresses given below:
- Preferred DNS Server: 8.8.8.8
- Alternate DNS Server: 8.84.4
7. Try To Update Your Network Adapter Driver
Sometimes it can be found that the problem of DNS Probe Finished No Internet issue can be due to problems in the Network Driver. Check that your Network Driver is not outdated, corrupt, or damaged.
You can easily detect the error in the Network Driver by using a utility tool such as Driver Talent. Simply download and install the updated version.
Conclusion
These are the most reliable methods to fix DNS Probe Finished No Internet in Windows 10. We hope that this article will help you fix your problem.
The problem can be caused by very minor things, such as problems caused by a modem or router, and the provided solutions are easy to perform. So just try them and also let us know which was the helpful method. We would love to hear it.